Every piece of work in Tickloft belongs to a client. This article shows how to create a client and set up their record so deadlines, checklists and AI suggestions work well.
Owners, admins and reviewers can create clients and engagements. Staff can work on the clients they can see, for example adding contacts or moving an engagement forward.
Create a client
- Open Clients and select New client.
- Fill in the profile (see below). Only a few fields are required, but the more you complete, the more accurate deadlines and checklists are.
- Select Create client. The client's record opens.
Tip: To add many clients at once, select Import CSV on the Clients page. Tickloft checks every row and shows the rows that need fixing before anything is saved.
Complete the client profile
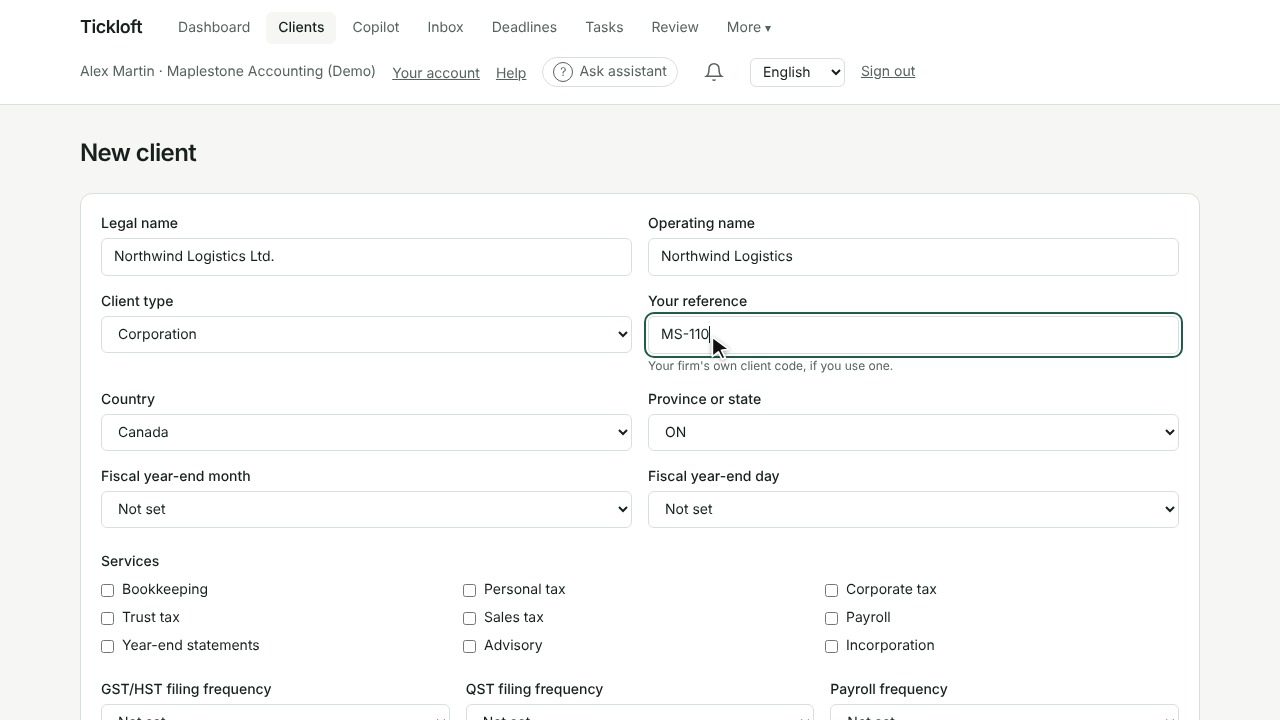
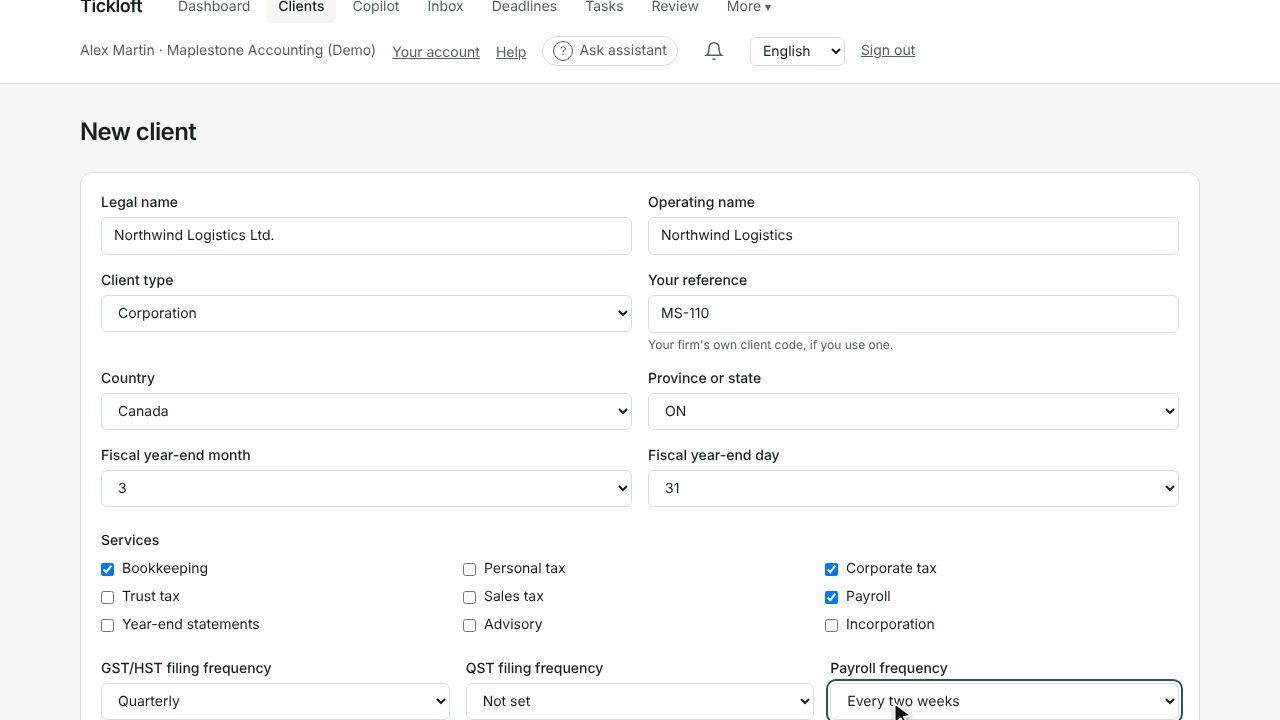
The profile drives deadlines and checklists. Key fields:
- Legal name and Operating name
- Client type: individual, sole proprietor, corporation, partnership or trust
- Country and Province or state
- Your reference: your firm's own client code, if you use one
- Fiscal year-end month and Fiscal year-end day
- Services your firm provides to this client
- Filing frequencies: GST/HST filing frequency, QST filing frequency, Sales tax filing frequency and Payroll frequency
- Client language: the language used in messages and reminders to this client
- Internal notes: never shown to the client
- Restrict access to assigned staff: hides the client from everyone except owners, admins and assigned people
To change the profile later, open the Overview tab and select Edit on the Profile card.
Add contacts
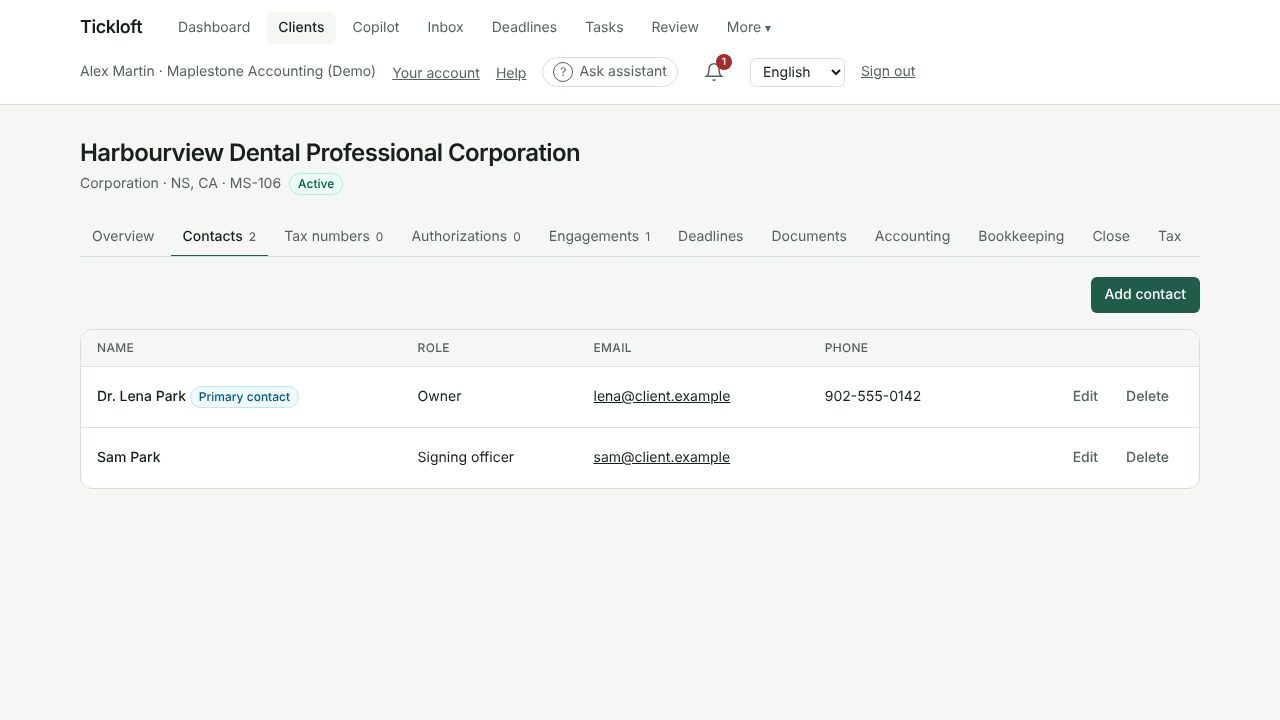
- Open the client's Contacts tab and select Add contact.
- Enter the name, email, phone, role (for example owner, signing officer or authorized representative) and language.
- Tick Primary contact for the main person to reach.
Contacts are for your records. To give someone access to the client portal, invite them from the Client portal tab.
Record tax numbers
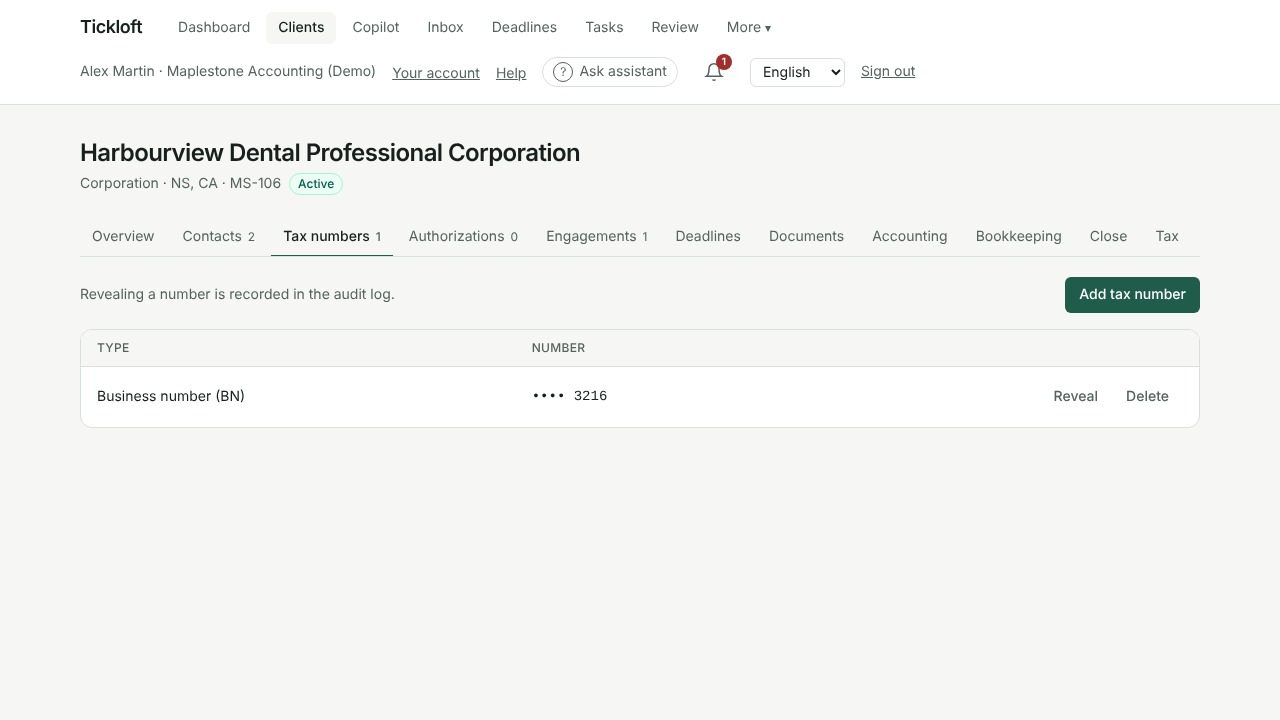
- Open the Tax numbers tab and select Add tax number.
- Choose the type, such as business number (BN), GST/HST account, QST number, payroll account (RP), SIN, EIN or SSN, and enter the number.
Numbers are masked. Select Reveal to see one; revealing a number is recorded in the audit log.
Start an engagement
An engagement is one piece of work, such as a T1 return for a year or monthly bookkeeping.
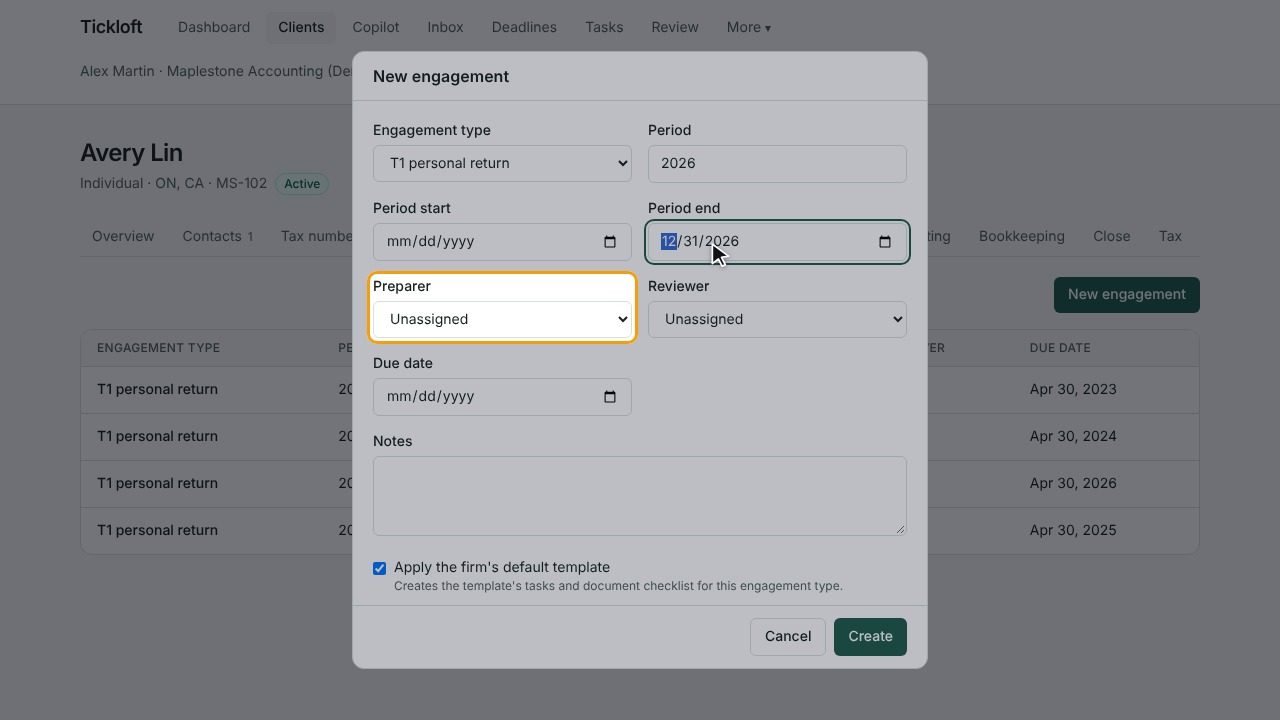
- Open the Engagements tab and select New engagement.
- Choose the Engagement type, the period, the Preparer and the Reviewer.
- Leave Apply the firm's default template ticked to create the template's tasks and document checklist automatically.
- Save.
When the period end is set, the due date is linked to the filing deadline and marked calculated. Use Move to to change the engagement's status, from planned through collecting documents, in progress and in review to completed.
Work with the document checklist
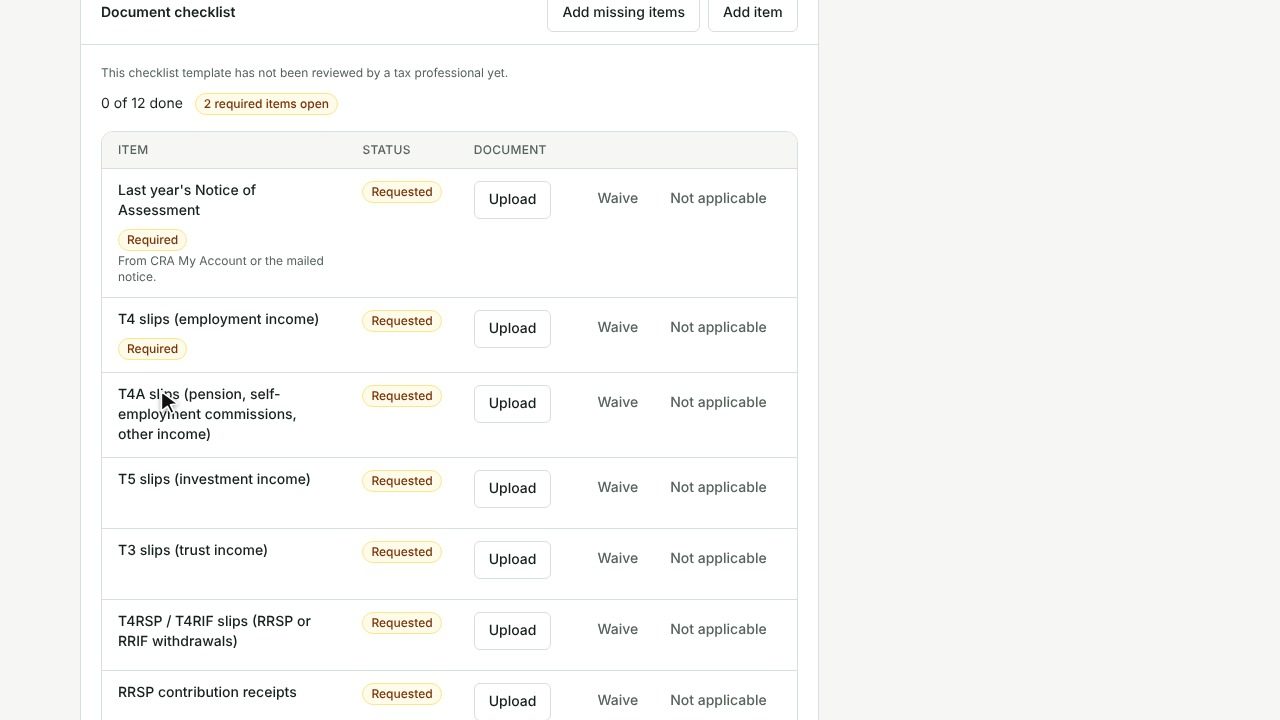
Open an engagement to see its Document checklist.
- Create checklist builds it from the template for this engagement type and the client's profile.
- Add missing items adds anything new after a profile change, and Add item adds your own.
- Documents the client uploads are matched to items automatically.
- For each item, you can Accept, Waive, mark it Not applicable or Request again. A reason is required when you waive an item or mark it not applicable.
Explore the client record
The client record has a tab for each area of work:
- Overview, Contacts, Tax numbers, Authorizations (CRA, Revenu Québec and IRS authorizations, engagement letters and consents)
- Engagements, Deadlines, Documents, Tasks
- Accounting, Bookkeeping, Close, Tax, Payroll, Payables, Insights
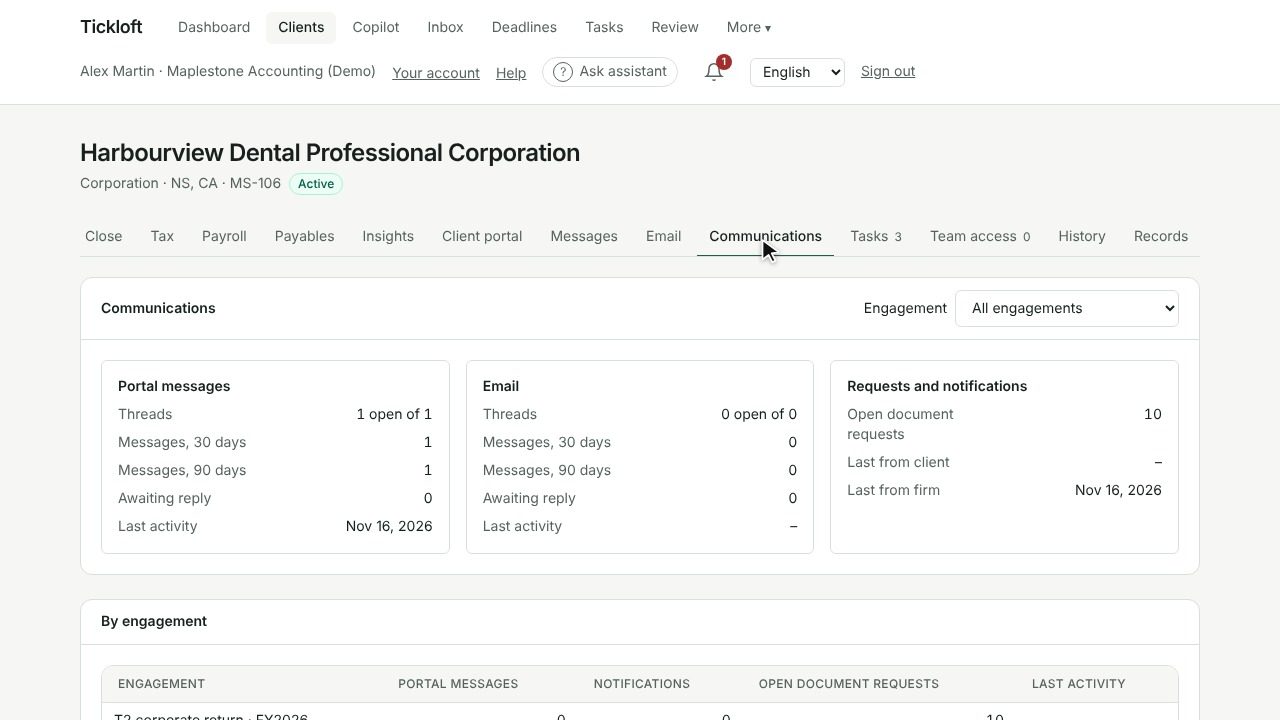
- Client portal, Messages, Email, Communications
- Team access (who works on the client) and History (every change)
- Records (owners and admins): legal holds, Export client data and Request deletion