The Inbox brings client email from your firm's mailboxes into Tickloft, sorts it and links it to clients. Together with portal Messages and the follow-up agent, it keeps every client conversation in one place, and nothing goes out without someone's approval.
Forward client email to Tickloft
Your firm has its own Tickloft forwarding address. Forward client email there from Gmail or Outlook, and Tickloft files each attachment to the right client's Documents, the same way as a connected mailbox. Forwarded email isn't shown in the Inbox, and Tickloft doesn't keep its text or reply to it.
- Open Inbox and select Mailboxes.
- Under Forwarding address, an owner or admin selects Create our forwarding address (once per firm). Select Copy to copy it.
- Set up forwarding in your email:
- Gmail or Google Workspace: in Settings, open Forwarding and POP/IMAP and select Add a forwarding address. Gmail sends a confirmation to Tickloft; within a minute it appears in the Gmail asks you to confirm forwarding box. Open the confirmation link and approve forwarding, then select Done, hide this. To forward only client mail, create a Gmail filter that forwards to your Tickloft address.
- Outlook or Microsoft 365: create a rule with the action Forward to your Tickloft address. Microsoft 365 blocks forwarding to outside addresses by default, so a Microsoft 365 administrator may need to allow automatic external forwarding in the outbound spam policy.
- Check Last forwarded email received to confirm mail is arriving.
Tickloft matches each email to a client by its original sender: a client contact's email or a portal user. Emails it can't match appear under Forwarded emails to assign: choose the client and select Assign. Unassigned emails are deleted after 30 days, and emails flagged as spam or containing a virus are deleted.
Connect your mailbox
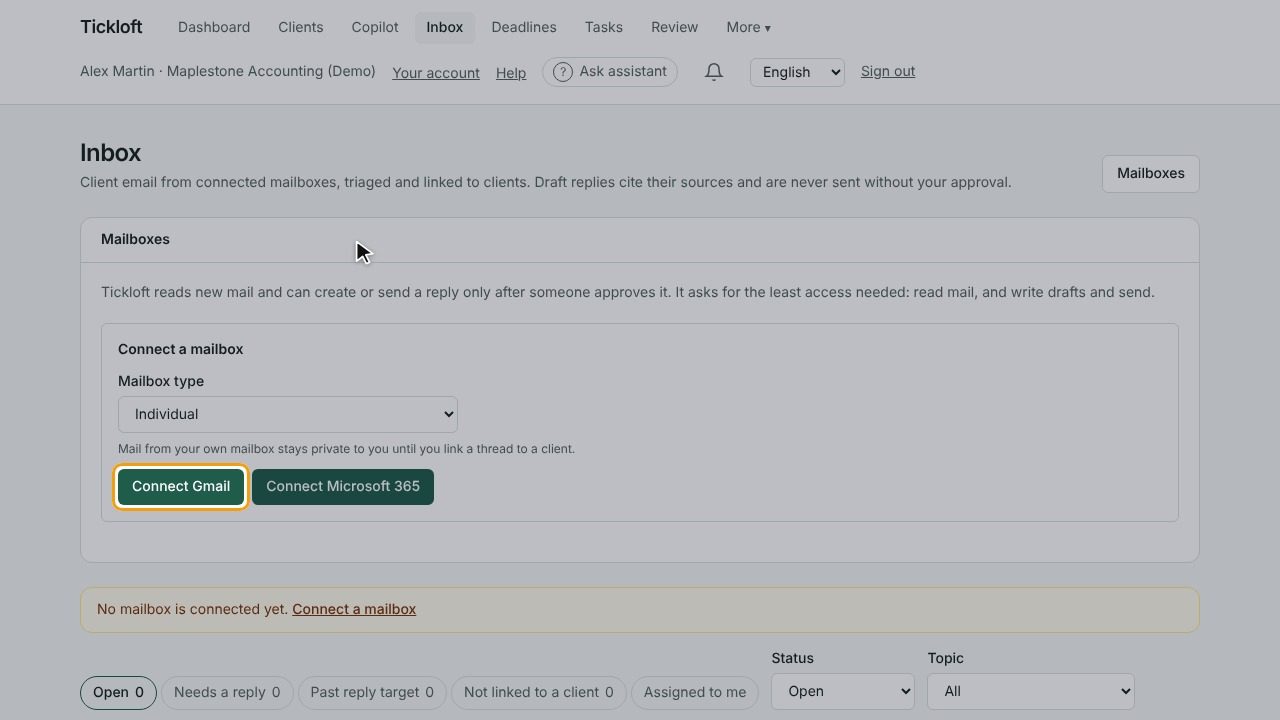
- Open Inbox and select Mailboxes.
- Under Connect a mailbox, choose a Mailbox type:
- Individual: your own mailbox. Mail stays private to you until you link a thread to a client.
- Shared (owners and admins): enter the Shared mailbox address, for example info@yourfirm.com. Everyone at the firm can see mail from a shared mailbox.
- Select Connect Gmail or Connect Microsoft 365 and sign in with that account.
Tickloft asks only for the access it needs: reading mail, writing drafts and sending. If the connect option isn't available, mailbox connections haven't been turned on for your firm yet — contact Tickloft support.
Tip: If you see "A mailbox needs to be reconnected", select Open mailboxes and connect it again. Use Check now to fetch new mail right away, or Disconnect to stop. Threads already imported stay.
Triage your email
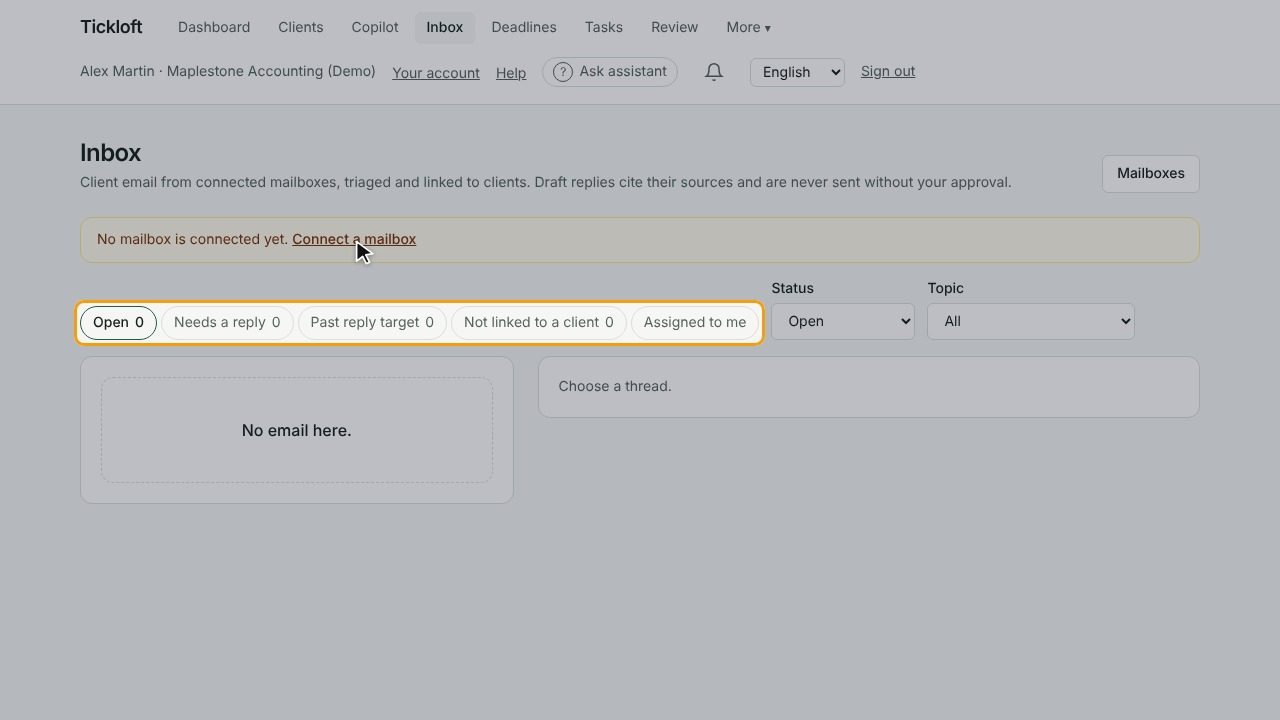
Each thread is sorted by Topic (such as Documents, Tax question or Government notice), Urgency and whether it needs a reply. Use the views at the top:
- Open, Needs a reply, Past reply target, Not linked to a client and Assigned to me.
- A Reply by badge shows the firm's reply target; Reply overdue means it has passed.
- Change the topic or urgency on a thread if the sorting is wrong. Your correction is marked set by staff.
- Select Mark done when a thread is handled, or Reopen it later.
A Check carefully warning means the message contains instructions or payment changes that look like a manipulation attempt. Verify any such request through a known contact.
Link email to a client
- Open the thread.
- Choose the client in the Client field.
Linking saves the thread's attachments to the client's Documents tab and lets reply drafts use the client file. Until then, the thread shows how many attachments are not saved. Linked email also appears in the client's Email and Communications tabs.
Draft and approve replies
- In a thread, select Draft a reply.
- The draft appears under Draft replies with its Sources: the client file and the firm's knowledge base.
- Select Review and send to open it in Review.
- Someone allowed by the firm's approval policies chooses Approve, Edit or Reject. With Edit, you can change the wording or save the reply as a draft in the mailbox instead of sending it.
Replies only go to the original sender, and only after approval. Owners and admins can turn on Draft replies automatically and set the Reply target (business days) in Firm settings under Inbox assistant.
Message clients in the portal
- Open the client and go to the Messages tab.
- Select New message, enter a Subject, choose an Engagement if it applies, and write your Message.
- Use Attach files to share documents.
- Tick Ask the client to reply if you need an answer; the conversation then shows Waiting for the client.
The client sees the message in their portal and gets one email. Select Close conversation when you're done.
Send document reminders
On an engagement, the Client follow-up card has two options:
- Plan reminders: the follow-up agent prepares reminders for missing documents. The plan waits in Review until someone approves it. Select Open in review to see it.
- Remind now: sends the open items to the client's portal users right away, in your name, after you confirm.
Reminders respect the firm's quiet hours and reminder settings.
Stay on top of notifications
Select the Notifications bell to see new client messages, uploads, follow-ups that need you and deadline alerts. Use Mark all as read to clear them. The client's Communications tab shows what was Sent to this client and its status.