The client portal is where your clients upload documents, answer messages and complete their business profile. This article shows how to invite them and how to collect documents from clients who don't have an account.
Owners, admins and reviewers can invite people to the portal and manage their access. Anyone on the team can create secure upload links.
Invite someone to the portal
Tickloft shows you the invitation link so you can send it yourself, because invitation emails may not be sent automatically for your firm.
- Open the client and select the Client portal tab.
- Select Invite.
- Enter the person's Email and Name, and choose a Role:
- Owner: full access to the business in the portal.
- Authorised representative: can act for the business, for example update the profile or connect the accounting system.
- Staff (view only): can view but not change the profile or connect accounting.
- Create the invitation, then select Copy link.
- Send the link to the client by email or another channel you trust.
The link expires in 7 days. Pending invitations are listed under Invitations on the same tab.
Tip: Tell the client to expect your message, so they don't mistake the link for spam.
What the client does next
- The client opens the link, enters their name and chooses their own password. You never see or set it.
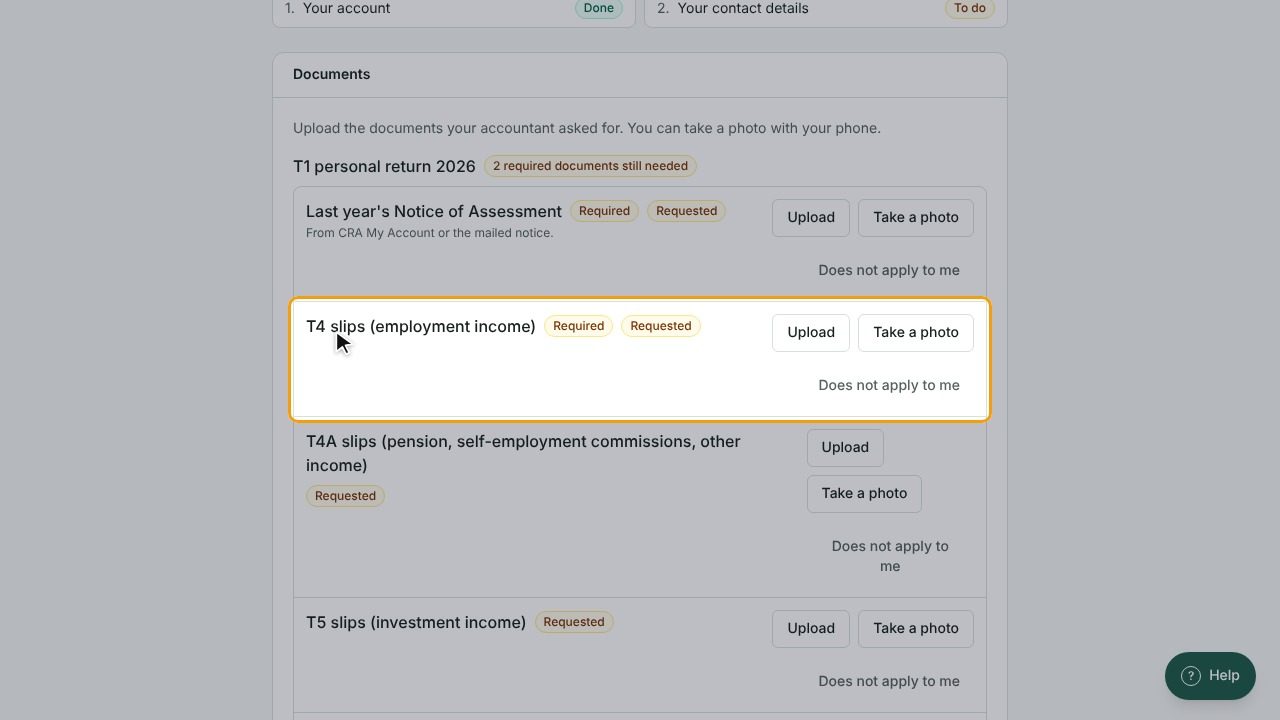
- They follow the Get set up steps: their account, the business profile and, optionally, the accounting system. They can skip a step and come back later.
- Next time, they sign in at /portal/login.
If the client already has a portal account with your firm, they enter their existing password to add the new business.
Clients only ever see their own businesses. They never see your notes, tasks, review items or other clients.
Review the business profile
When the client sends their profile, it appears on the Client portal tab under Business profile from the client, marked Needs review. Check it, then select Mark reviewed. Their information isn't used until someone on your team has reviewed it.
Revoke or remove access
- To cancel an invitation that hasn't been accepted, select Revoke next to it.
- To stop someone using the portal, find them under People and select Deactivate (you can reactivate them later) or Remove access to take this business away from their account.
Collect documents without a portal account
For a one-off request, or a client who doesn't want an account, send a secure upload link instead.
- Open the client's Documents tab and find Secure upload links.
- Select Create link.
- Optionally write a Message to the client, for example the documents you need. It appears on the upload page.
- Set the Maximum files (up to 50) and Expires after (days) (up to 60).
- Create the link and select Copy link. Copy it right away: it is shown only once.
- Send it to the client.
The link closes when the client presses Done, reaches the file limit or expires. Select Revoke to close it early. Files received through a link show Secure link as their source and are processed like any other upload.