This article is for owners and admins. It covers the settings you configure once, then revisit as your firm grows.
Review your firm settings
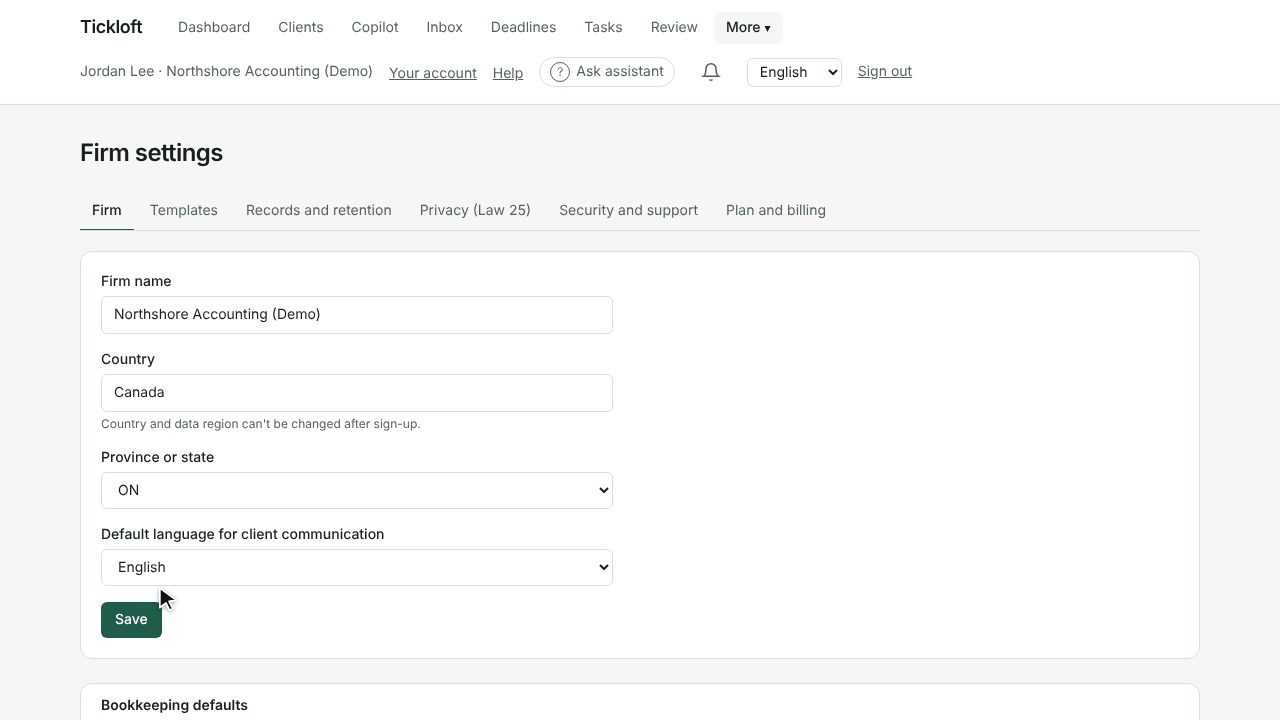
Open Firm settings from the main navigation. It has five tabs:
- Firm: firm details, bookkeeping defaults, client follow-up reminders and quiet hours, deadline alerts and tasks, shared mailboxes and inbox settings. Country and data region can't be changed after sign-up.
- Templates: engagement templates (see below).
- Records and retention: retention policies, legal holds, deletion requests and records, and Firm data (export everything, or close the account).
- Security and support: Support access for Tickloft support, and Single sign-on (OpenID Connect).
- Plan and billing: your plan, seats, invoices and usage, with a breakdown by client.
Tip: Only owners can manage billing, single sign-on, support access and account closure.
Invite a team member
Tickloft shows you the invitation link so you can send it yourself, because invitation emails may not be sent automatically for your firm.
- Open Team and select Invite member.
- Enter the person's Email and choose a Role.
- Select Create invitation.
- Select Copy and send the link to the person by email or chat.
The link works once and expires after 7 days. Pending links appear under Invitations, where you can Cancel invitation. When the person accepts, they set their own password and two-step verification.
Manage roles and access
Each member has one role: Owner, Admin, Reviewer or Staff.
- Change a role with the Role menu next to the person's name on the Team page. Only an owner can make someone an owner or change an owner.
- Deactivate signs a person out and removes their access immediately. Reactivate restores it.
- The badge Two-step not set up shows who hasn't finished their first sign-in.
- Payroll access controls which reviewers and staff can see client payroll data. Owners and admins always can.
The Capacity card on the same page lets you set each person's Weekly capacity to compare it with their open work.
Restrict access to a client
Some clients should be seen only by the people working on them.
- Open the client and, on the Overview tab, select Edit on the Profile card.
- Tick Restrict access to assigned staff and save.
- On the client's Team access tab, select Add team member for each person who works on the client.
A Restricted badge then appears in the client list. Owners and admins always see every client.
Set approval policies
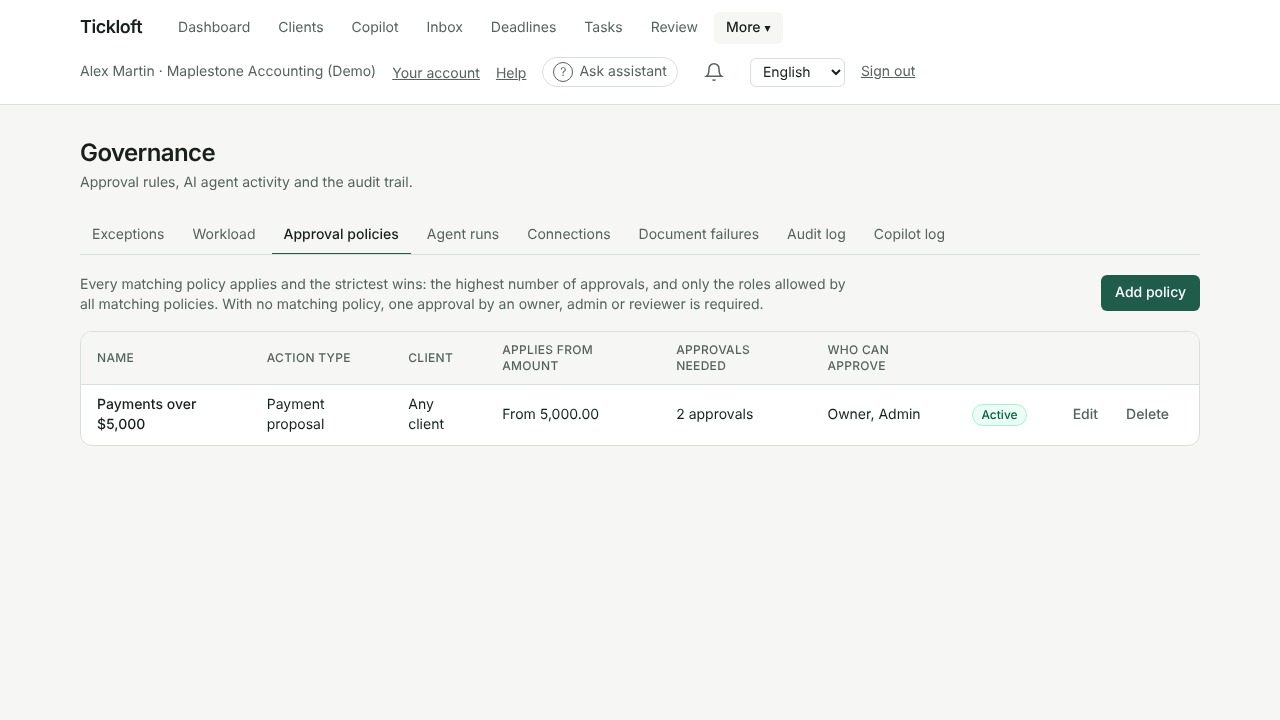
AI agents never act on their own: their suggestions wait in Review until an allowed person approves them. With no policy, one approval by an owner, admin or reviewer is required.
- Open Governance and select the Approval policies tab.
- Select Add policy.
- Choose an Action type (or Any action), a Client (or Any client) and, if needed, Applies from amount.
- Set Approvals needed (two or more gives four-eyes review) and Who can approve.
- Save.
When several policies match, the strictest wins. Some items, such as data deletions, can only be approved by an owner whatever the policy says.
Create engagement templates
Templates are service packages for each engagement type.
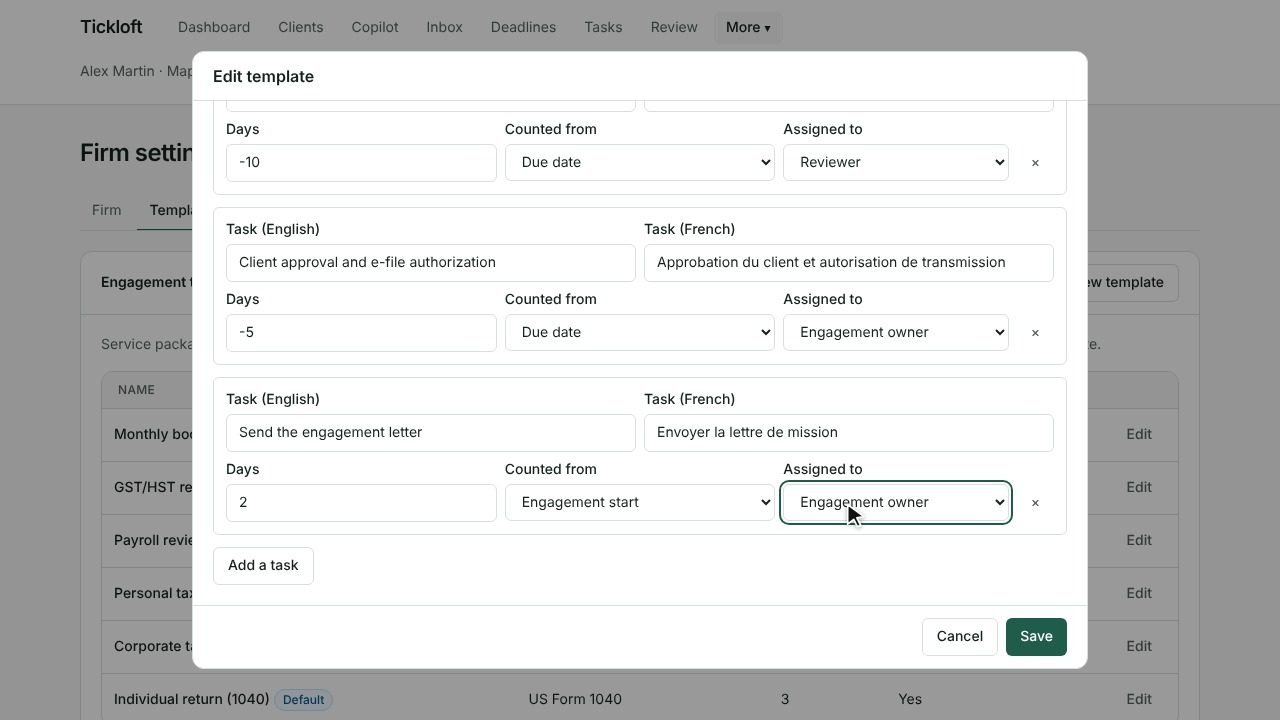
- In Firm settings, open the Templates tab and select New template.
- Choose the engagement type and add tasks with Add a task. For each task, set the number of days, whether it is Counted from the Engagement start or the Due date, and who it is Assigned to.
- Tick Create the document checklist if you want the checklist created too, and Default for this type to use it automatically.
Turn on single sign-on
Single sign-on is included in the Enterprise plan.
- In Firm settings, open Security and support.
- Under Single sign-on (OpenID Connect), enter your identity provider's issuer URL, client ID and secret, and your Email domains.
- Register the Redirect URI shown in your identity provider, then turn single sign-on on.
Require single sign-on stops staff from using passwords. Owners keep password and two-step sign-in as a backup. Team members must already exist in Tickloft, and roles are still managed on the Team page.